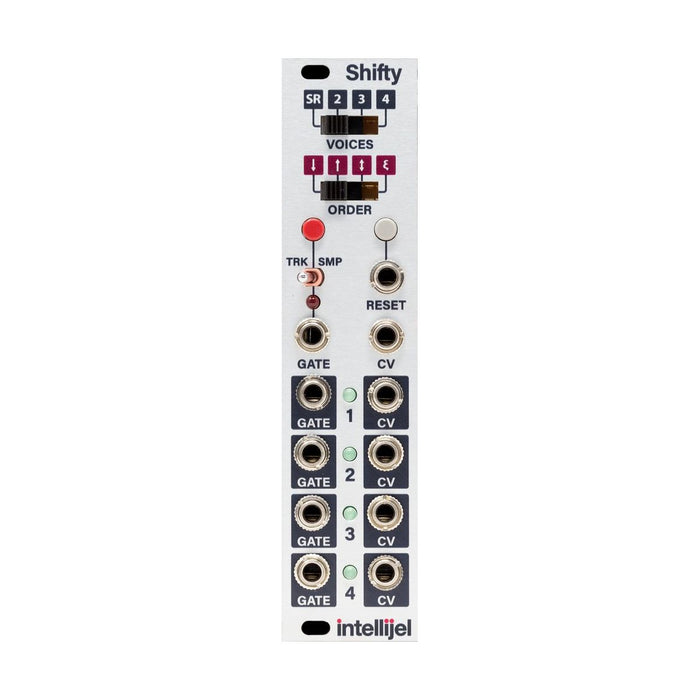
Skip to content
Free domestic shipping over 15,000 yen | FREE DHL SHIPPING WORLDWIDE FOR ORDERS 50K+ yen : Details

MUSICAL FEATURES

Intellijel Shifty is a voice allocation module that allows you to allocate pitch CV / gate sequences from a single sequence to several voices. It also has a shift register mode, which allows you to allocate pitches differently from voice allocation mode.

Voice Allocation Modesamples the value of the CV input each time a gate is entered, and the value of that CV is allocated somewhere in the output that is not currently allocated. If the gate is followed, all four CV outputs are allocated. entered, one CV output is replaced by the new input CV, and a gate signal of the same channel is output at that moment (the same length as the input gate). Which CV output is replaced can be set by the ORDER switch. on the switch, it is not available in the 4 outputs, but also in 3 outputs and 2 outputs, and you will be able to voicing very interesting if you devise the tone of each voice in the 2 outputs.

Shift register modeMoves the current CV output next to each time a gate is entered, and the gate is output from each output each time. It's also useful to create code from harmonic sequences (for starters, entering pentatonic note sequences produces relatively clean code).

Basic usage is to put the pitch CV from the sequencer and keyboard into the CV IN and patch the gate to the gate input. Patch the envelope and pitch CV of the voice that you want to use the gate signal output from each channel to the voice's 1V / Oct input. You can play up to four voices from a single note sequence.  
 
Mouse over to see a description of each part

DEMO

firmware Update

The steps for updating the firmware are as follows:
  1. Turn off the module
  2. Connect the USB cable to the computer from the back of the module.
  3. IntellijelPageOpen the updater downloaded from and select the module and version from the drop down.
  4. Press and hold the button on the back of the module to power the module back on.
  5. At the bottom of the updaterUpdateThe progress bar begins when you press the button, and when the message "Update completed successfully" appears at the end, the update is terminated.
  6. Reboot the module will work with the new firmware
Top
x