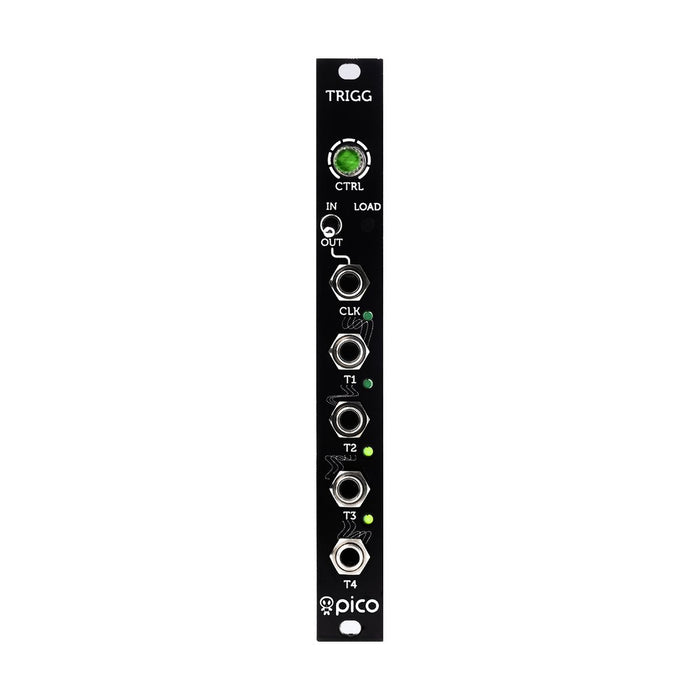
Skip
Free domestic shipping over 15,000 yen | FREE DHL SHIPPING WORLDWIDE FOR ORDERS 50K+ yen : Details

MUSICAL FEATURES

Japanese manual

This is a compact 16-step 4-channel trigger sequencer clock generator module.

Pattern is on the webeditorProgram using. The step length can be set from 1 to 16 for each channel.

Features and usage:
  • Can operate in synchronization with the internal clock or external clock. When the switch is in the "IN" position, the CLK jack becomes an input and accepts an external clock. When the switch is in the "OUT" position, the CLK jack becomes the internal clock output jack.
  • When the encoder is green, it is the pattern play mode. Turn the encoder to change the speed of the internal clock
  • Shuffle possible. Push the encoder to yellow to change the amount of shuffle
  • 4-channel trigger output. Each channel can freely edit the pattern with a web editor
  • In the web editor, you can change the step length for each channel to create polyrhythm
  • Edit and save the pattern in the web-based editor. Upload the pattern to the module by patching the audio output of your PC or mobile running a web editor to the CLK jack (make sure the switch is set to "IN")
  • Up to 8 patterns can be stored in memory. After pressing the LOAD button, turn the encoder to select the pattern. The pattern from 1 to 4 is indicated by the lighting of the channel LED. Patterns from 5 to 8 are indicated by blinking channel LEDs


Web-based editor usage

  • http://www.ericasynths.lv/triggergenGo to
  • Select the pattern length for each channel and click the step you want to turn on the trigger.
  • Make sure the switch on the module is in the "IN" position. If you hold down the encoder for 2 seconds, it will blink red and you will be in the pattern upload standby state.
  • Once the pattern is determined, patch the audio output of the device running the web editor (smartphone, laptop, etc.) to the "CLK" input of the module.
  • From the drop-down list next to the "UPLOAD" button in the editor, select the save destination pattern number. Click the "UPLOAD" button. The upload is successful when the module encoder flashes green once.
  • Press the encoder once to return to the normal state, press the LOAD button to select the pattern you saved earlier, and the pattern you programmed will be recalled
Top
x